

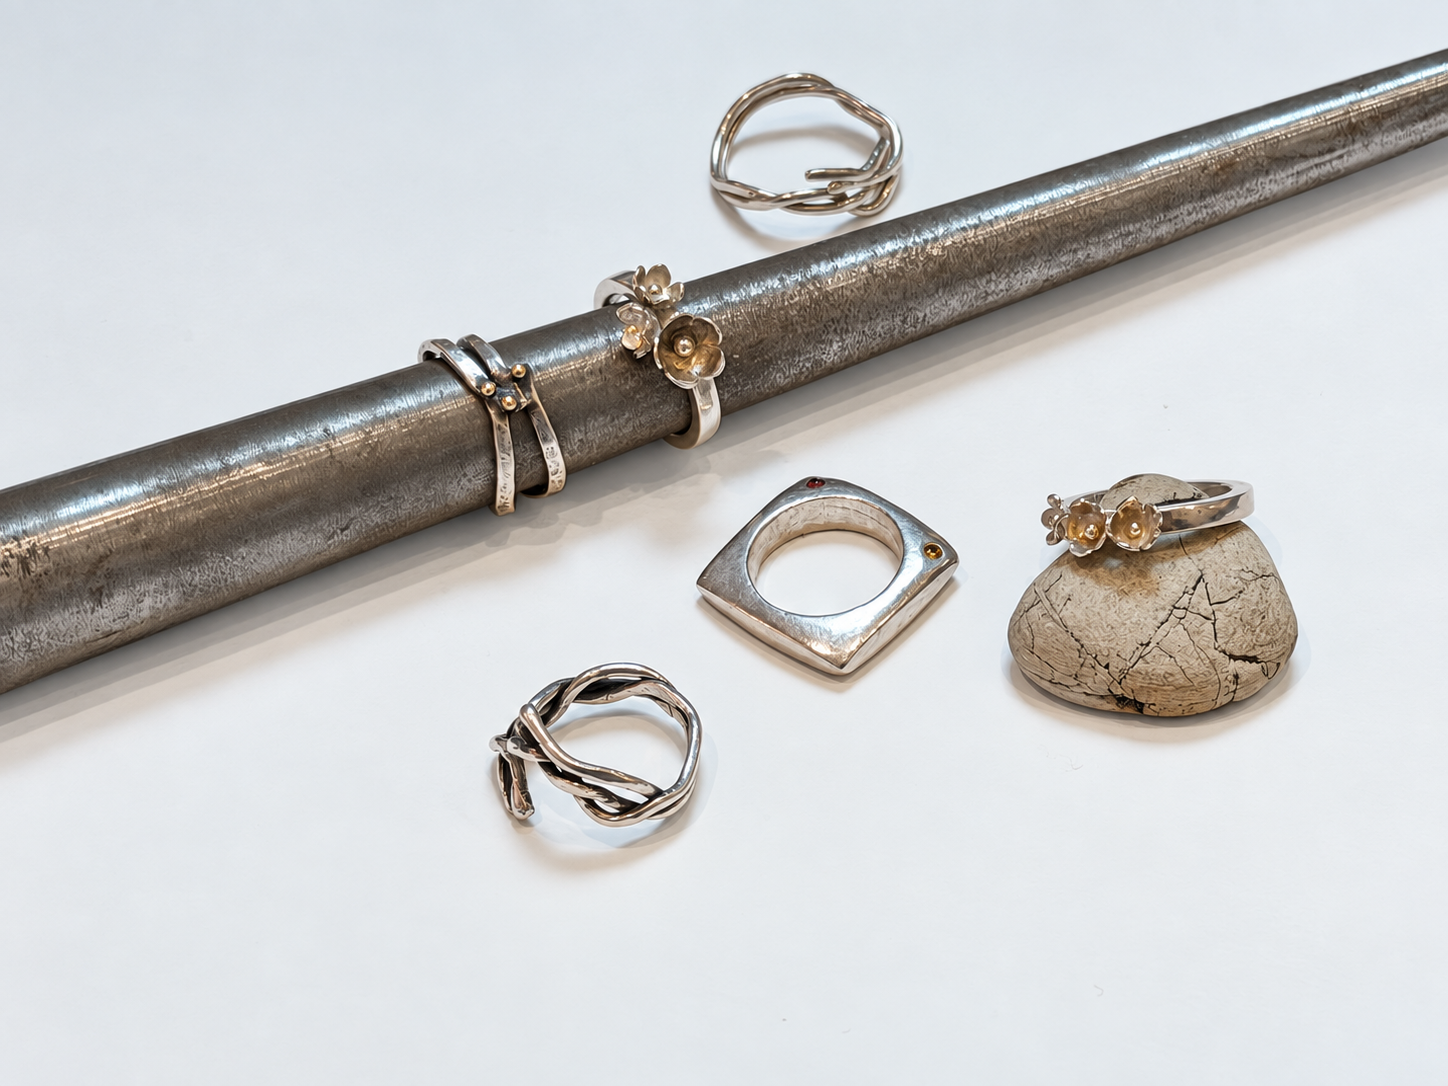
In this hands-on series, you’ll learn the centuries-old process of lost-wax jewelry-making from beginning to end. You’ll start by carving a simple wax ring to become familiar with the materials, tools, and techniques. From there, you’ll design a second piece with guidance to help you choose a design that feels both exciting and achievable.
You’ll carve and refine both pieces in wax, prepare them for professional casting in silver, and finish them by hand through sanding and polishing. No previous jewelry-making experience is needed.
FROM CARVING TO CASTING:
create your own jewelry
Start with wax. Leave with two pieces of silver jewelry you made yourself.
Toolkits will be provided so you can continue working on your wax pieces between sessions. Some independent work may be helpful as you develop and refine your designs, but Lisette will provide guidance throughout the series to keep each project manageable.
By the end of the series, you’ll have:
A simple silver ring created as your first practice piece
A second silver jewelry piece based on your own design
A foundational understanding of the lost wax process
Experience using specialized wax-carving and jewelry-finishing tools
Skills you can continue building on in future jewelry projects
What is Lost Wax?
It’s an ancient metal-forming method used to create detailed duplicates of sculptures, jewelry, and industrial parts by melting away a wax model to leave a hollow mold for liquid metal.
-
Get acquainted with the lost wax process, its history, and the different types of jewelry wax. You’ll begin with a simple ring, learning how to size it, cut out the center, shape an even band, and smooth the surface.
By creating this first piece, you’ll get comfortable with the tools and begin to understand what’s possible in wax, giving you a stronger foundation for planning your second, more individual design.
You’ll explore:
The lost wax jewelry-making process and its history
Different types of wax and how they are used
How a piece’s wax weight relates to its final weight in silver
The specialized tools used for carving and refining wax
How to size, shape, and smooth a simple wax ring
Before the next session, you’ll begin thinking about what you’d like to create for your second piece.
-
Finish refining your first ring, then begin bringing your second design to life using files, carving knives, wax saws, and other specialized tools.
Lisette will work one-on-one with each participant to help shape their idea into something achievable within the series. As everyone develops their own project, you’ll also have opportunities to see different approaches, techniques, and creative possibilities emerge around the table.
You’ll practice:
Sawing, shaping, and carving wax
Using jewelry tools safely and effectively
Developing an idea that works well with the lost wax process
Adding texture and fine details
Refining the shape, scale, and fit of your design
-
Make final adjustments to your wax pieces and prepare them to be professionally cast in silver. You’ll learn how to repair delicate areas, smooth the surface, and resolve small imperfections while the material is still wax.
Because every mark in the wax can appear in the finished metal, this session focuses on getting both pieces as clean and complete as possible before they are sent out for casting.
You’ll learn:
How to repair and strengthen wax pieces
How to smooth and refine the surface
How to prepare a wax model for casting
How to estimate the final weight of your silver pieces
What happens when a wax design is transformed into metal
At the end of the session, your pieces will be collected and sent out to be cast in silver.
-
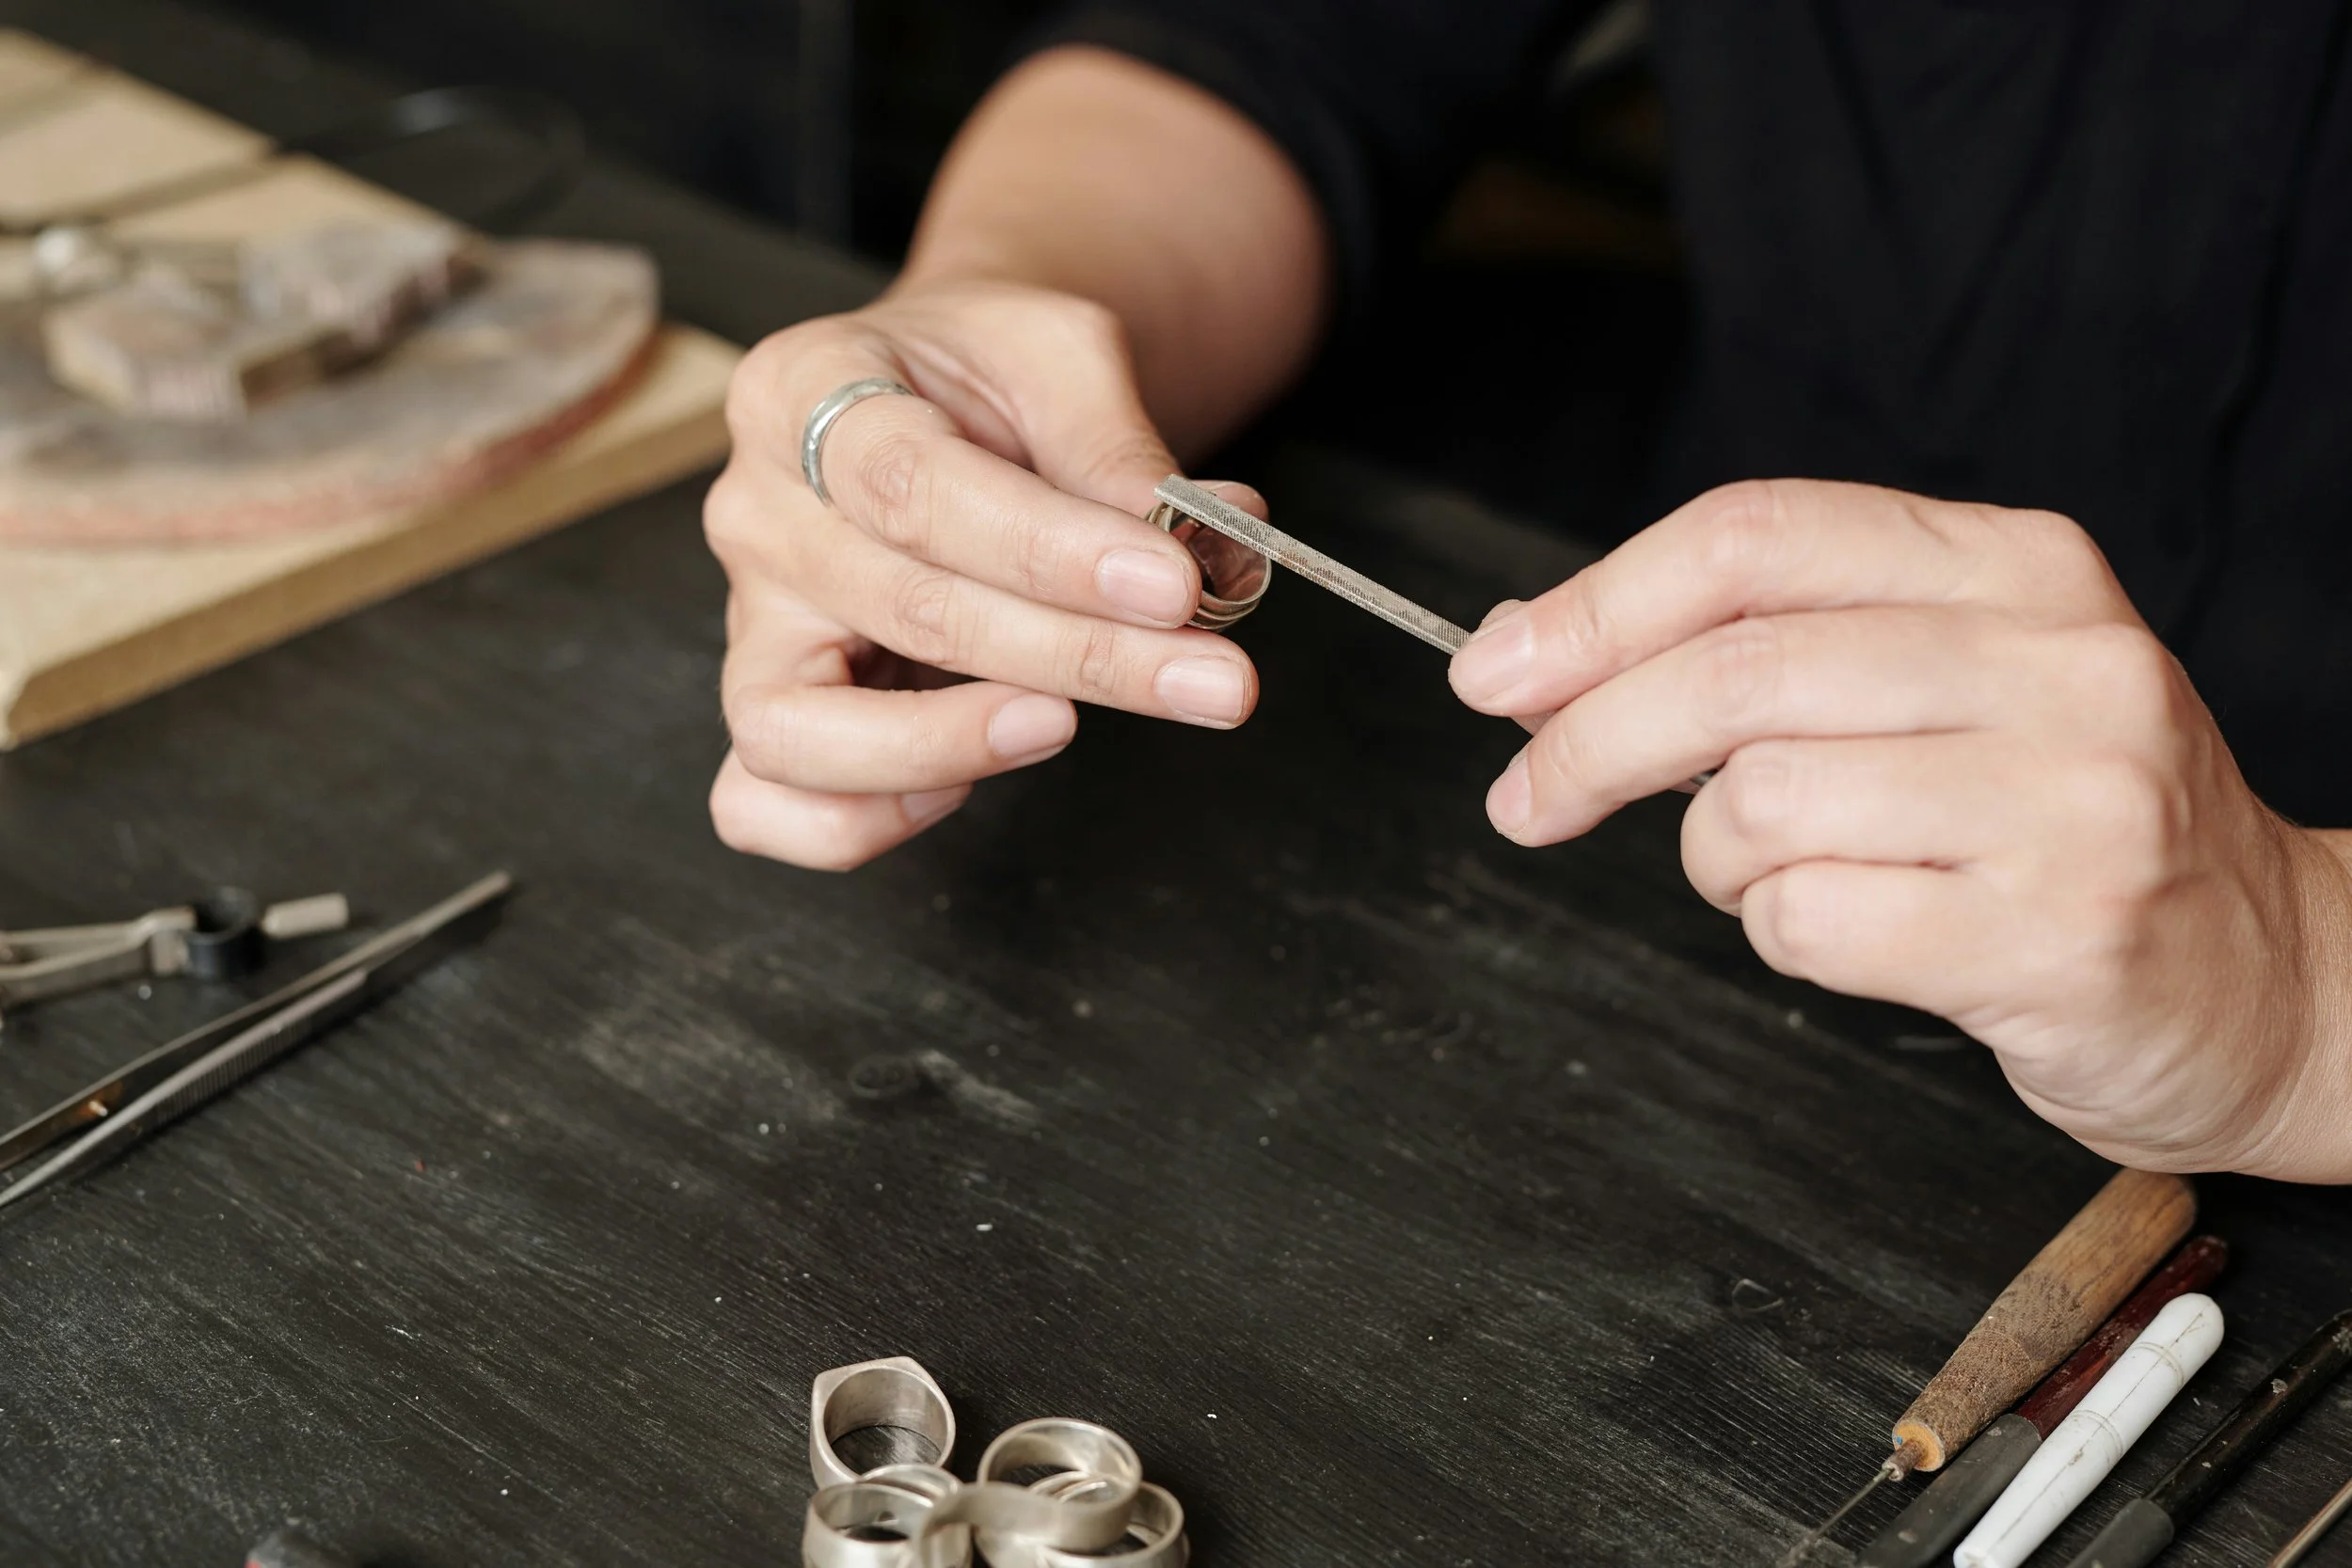
Your designs return in silver! In the final session, you’ll learn how to clean, sand, refine, and polish the castings until they become finished pieces of wearable jewelry.
You’ll practice:
Cleaning and refining a silver casting
Sanding and smoothing the metal
Polishing your finished pieces
what to expect each week
Each week builds on the last as you learn the process, develop your designs, prepare them for casting, and finish your pieces by hand.